Navigation: Notification System > Manual Notification Handler Screen >
You can use the Manual Notification Handler screen to manually queue and re-queue a message.
To manually queue a message using the Manual Notification Handler screen:
1.Navigate to the Notification > Manual Notification Handler screen.
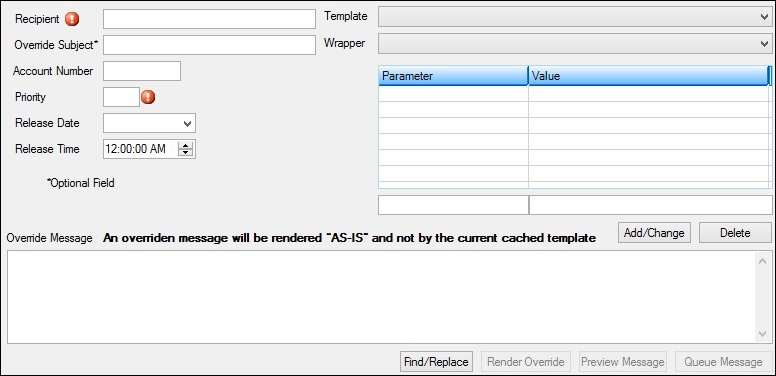
Manual Notification Handler Screen
2.Enter information into the fields on the screen. You must enter a Recipient and give the message a Priority.
3.Select a Template and a Wrapper.

Information Entered into Manual Notification Screen Fields and Template and Wrapper Selected
4.Once a template and wrapper are selected, the Manual Notification list view contains the parameters and values that are used in the template.
5.Enter the values for the parameters in the Manual Notification list view.
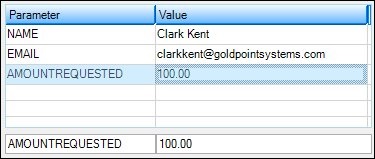
Manual Notification List View
6.Once all of the values have been entered, you can view the message using the render tool to see if the message is set up correctly. Note: You can also enter a new message in the Override Message field if you want to override the message in the selected template.
7.After you have viewed the message and have made sure that it is set up correctly, click the <Queue Message> button (![]() ) to queue the message according to the parameters set up. The message will be sent on the date and time set up in the Release Date and Release Time fields.
) to queue the message according to the parameters set up. The message will be sent on the date and time set up in the Release Date and Release Time fields.
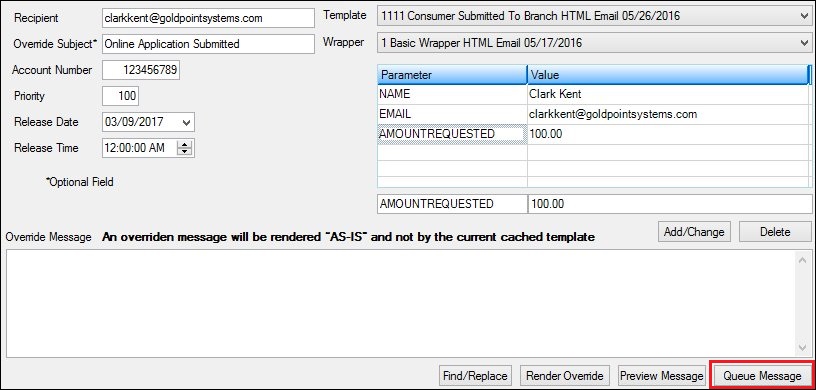
Message on the Manual Notification Handler Screen
8.Once you have clicked the <Queue Message> button, you will receive a message informing you that the message has been queued. Click <OK> to close the Information Message dialog.
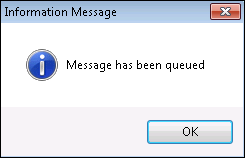
Information Message Dialog
To manually re-queue a message using the Manual Notification Handler screen:
1.Select a message to modify using the Manual Notification Handler screen, the Archive Manager screen or the Queue Error Manager screen.
2.The selected template is now displayed on the Manual Notification Handler screen and can be modified and re-queued.
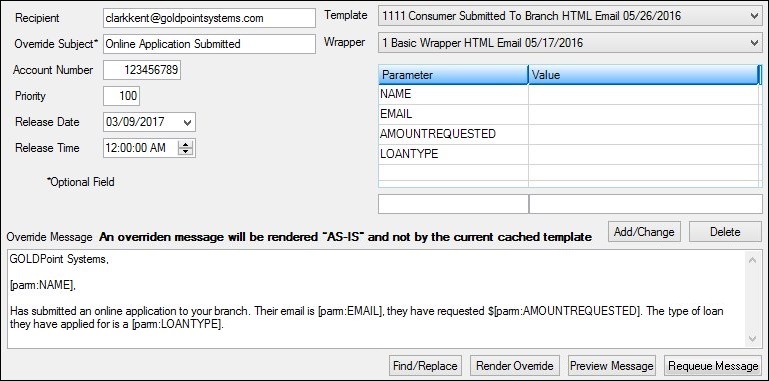
Message Displayed on Manual Notification Handler Screen
3.Make any necessary changes to the message. The message can be modified by changing or entering information into the fields on the screen. You can change the account number that the message is associated with, the email address of the recipient, the level of priority, the subject line that appears in the Subject field of the email, the date and time the message will be sent/released, and the details of the body of the message. The message can also be modified by changing the parameters and values associated with the message.
4.Once all of the changes have been made, you can view the message using the render tool to see if the message is set up correctly.
5.After all of the changes have been made and verified, click the <Requeue Message> button (![]() ) to re-queue the message according to the parameters set up. The message will be sent on the date and time set up in the Release Date and Release Time fields.
) to re-queue the message according to the parameters set up. The message will be sent on the date and time set up in the Release Date and Release Time fields.
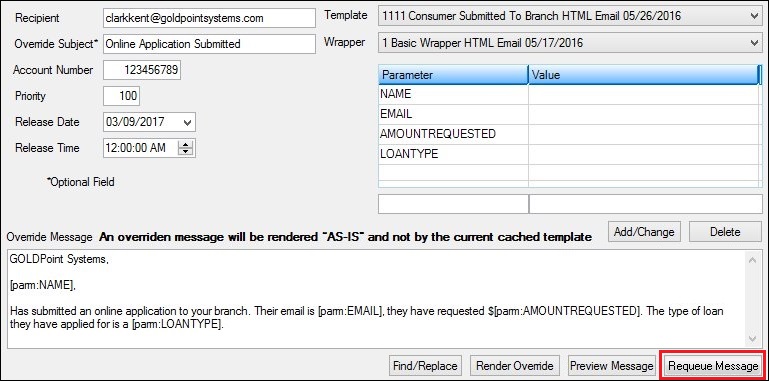
Re-queue Message on the Manual Notification Handler Screen
6.Once the message has been re-queued, you will receive a message informing you that the message has been queued. Click <OK> to close the Information Message dialog.

Information Message Dialog
See also:
Manual Notification Handler Screen
Manual Notification Handler Screen Details