Navigation: Notification System > Manual Notification Handler Screen >
The Manual Notification Handler screen allows you to add and change parameters and their values using the Manual Notification list view. The parameters and values are used to automatically populate messages with substitution data when rendering the messages. Note: Parameters and values set up for the subject are ignored if overriding data is entered into the Override Subject field. Also, parameters and values set up for the body of the message are ignored if overriding data is entered into the Override Message field.
To add parameters and values to the Manual Notification list view:
1.Enter a parameter into the Parameter field. In the example below, we have entered "LOANTYPE."
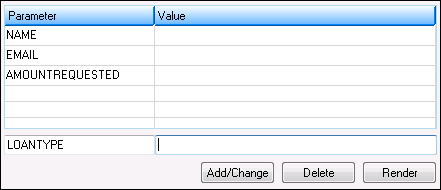
"LOANTYPE" Entered in Parameter Field
2.Enter a value for the parameter in the Value field, or leave the Value field blank if you do not wish to add a specific value. In our example, we have entered "Consumer Loan."
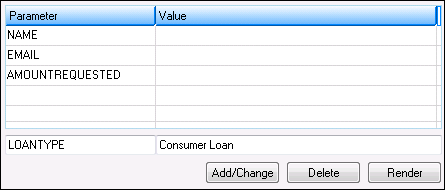
"Consumer Loan" Entered in the Value Field
3.Click the <Add/Change> button (![]() ) to add the new parameter and value to the Manual Notification list view.
) to add the new parameter and value to the Manual Notification list view.
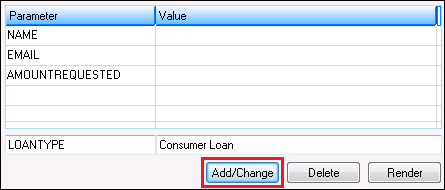
Click <Add/Change> Button to Add Parameter and Value
4.The parameter and value are added to the Manual Notification list view.
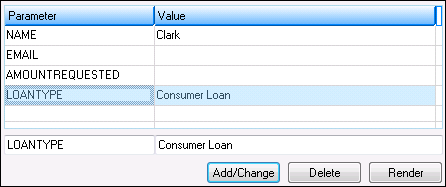
New Parameter and Value Added to the Manual Notification List View
To change parameters or values in the Manual Notification list view:
1.Select a parameter or value in the Manual Notification list view. In the example below, we have selected "LOANTYPE."
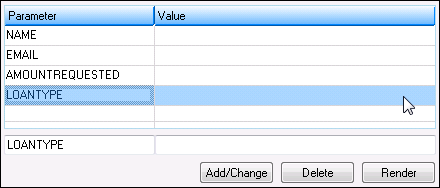
Parameter Selected in the Manual Notification List View
2.Once the parameter has been selected, it automatically populates the Parameter field.
3.Make the desired changes to the parameter or value using the Parameter and Value fields. In our example, we have entered "Consumer Loan" as the value associated with the parameter, LOANTYPE.
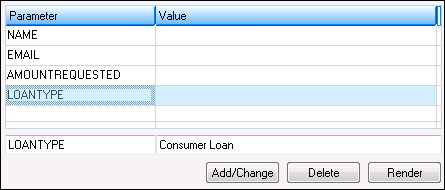
"Consumer Loan" Entered in the Value Field
4.Click the <Add/Change> button (![]() ) to make the changes to the parameter and value in the Manual Notification list view.
) to make the changes to the parameter and value in the Manual Notification list view.
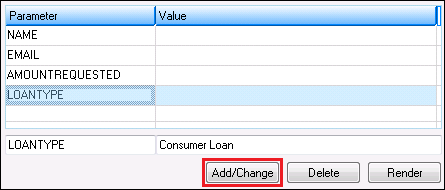
Click <Add/Change> Button to Change the Parameter and Value
5.The changes to the parameter and value have now been applied to the Manual Notification list view. Now that the changes to the parameter and value have been applied to the Manual Notification list view, you can add the new changes (render the changes) to the message.
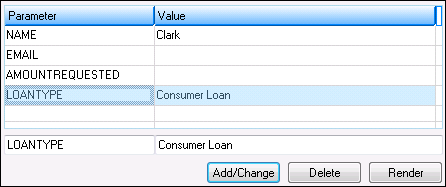
Changes Applied to the Manual Notification List View
6.Click the <Render> button to add the new changes to the message.
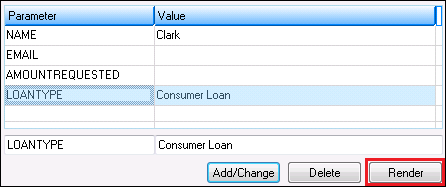
<Render> Button Highlighted
7.The changes to the parameter and value are applied to the message.

Body of the Message Before the Changes to the Parameter and Value Were Applied

Body of the Message After the Changes to the Parameter and Value Are Applied
See also:
Manual Notification Handler Screen
Manual Notification Handler Screen Details