Navigation: Dealer System > Dealer Groups Screen >
Once a dealer group is created, you can use the Dealer System > Dealer Groups screen in CIM GOLD to add or remove plans from that group.
Add Plans to a Dealer Group
To add plans to a dealer group, complete the following steps:
1.Navigate to the Dealer System > Dealer Groups screen using the CIM GOLD tree view on the left-hand side of the screen.
2.Perform a search for the dealer group using the Dealer Group Search fields at the top of the screen.
Dealer Group Search
3.Select the dealer group in the Dealer Groups list view.
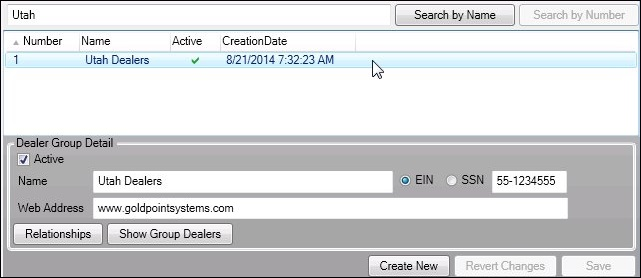
Dealer Group Search Results
4.Click <Relationships> on the lower, left-hand side of the screen to bring up the Edit Relationships dialog.

<Relationships> Button
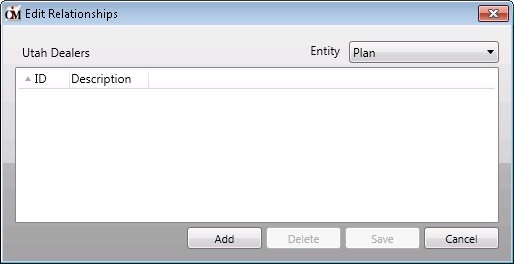
Edit Relationships Dialog
5.To add relationships to a dealer, select the type of relationship that you want to add from the Entity drop-down list and click <Add>.
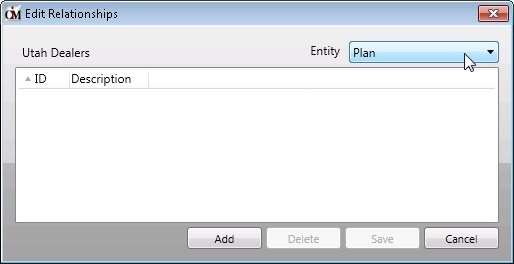
Edit Relationships Dialog – Select Plan Entity
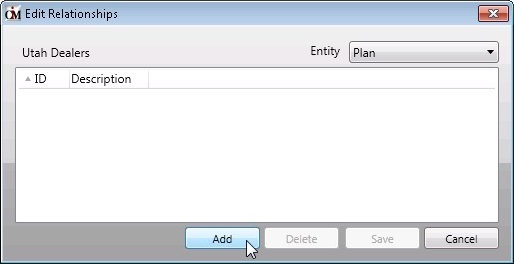
Edit Relationships Dialog – <Add> Button
6.This brings up one of the Select Relationships for Dealer Group dialogs. In our example it brings up the Select Plan Relationships for Dealer Group dialog.
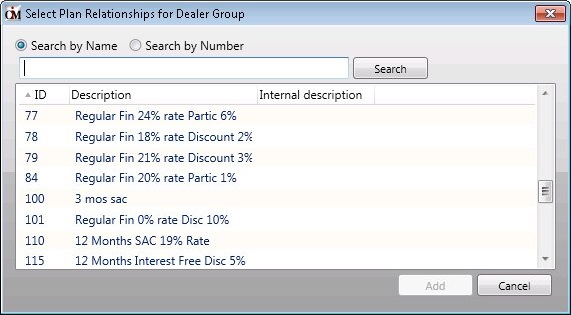
Select Plan Relationship for Dealer Group Dialog
7.Select the relationship that you want to add from the Select Relationship for Dealer Group list view and click <Add>. You can use the search fields to help you find a relationship by searching for name or the ID number. Note: If there aren’t any relationships set up for your institution or if you need to add a new relationship, you can set up relationships on a few of the different screens in the Dealer System including: Ancillary Products, Definitions Setup, Plans, and User Groups.
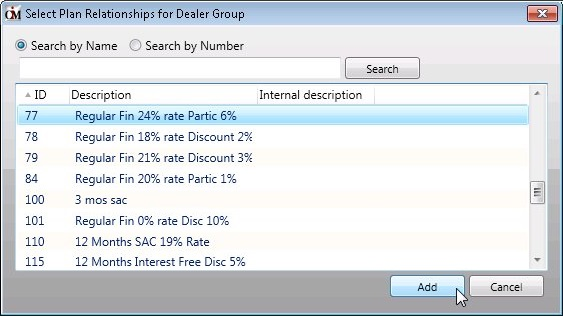
Select Plan Relationship for Dealer Dialog—Plan Selected
8.The Select Plan Relationships for Dealer Group dialog automatically closes and the new relationship appears in the Edit Relationship list view on the Edit Relationship dialog. Repeat Steps 5-8 until all of the plans that you want associated with the dealer group have been added.
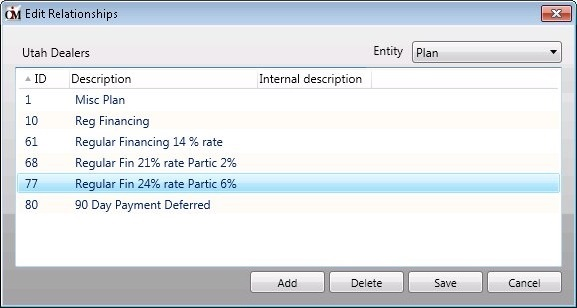
Edit Relationships Dialog—New Plans Listed
9.Once you have added all of the plans that you want associated with the dealer group, click <Save>.
10.The new plans have been successfully added to the dealer group. Click <Cancel> or the X icon (![]() ) to return to the Dealer Groups screen.
) to return to the Dealer Groups screen.
See also:
Remove Plans from a Dealer Group