Navigation: Loans > Loan Screens > Check Printing Screen Group >
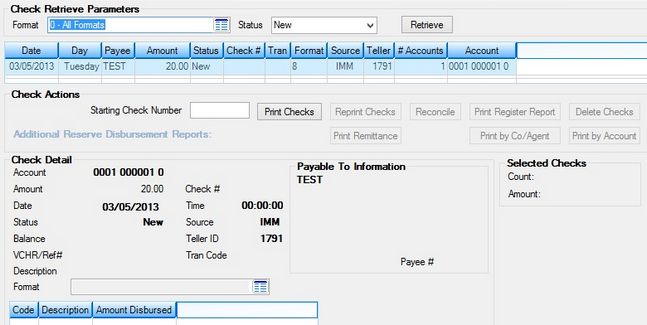
Use this screen to print and view the status of LIP checks at your institution. See LIP Checks for a list of possible functions on this screen and LIP Checks buttons for an explanation of the functions of buttons on this screen.
|
Note: If your institution is using CIM GOLD version 7.9.3 or above, this screen will not be used. Instead, the Checks screen will be available. See help for that screen for more information. |
|---|
Once LIP checks are printed, the history of those checks can be viewed through the GOLD Services > Check Reconciliation > Check Detail screen. See the Check Detail topic for more information.
The list view at the top of this screen displays check data based on the parameters you set in the Format and Status fields. It displays the date the check data was created, the day of the week the check data was created, the first line of the payee, the amount of the check, the status (New, Printed, Reconciled), the check number (this changes each time the check is reprinted), the transaction code, the format, source, teller number, number of accounts (LIP checks will always be one account only, and you cannot have two loans on one check), and the account number (the loan number).

Loans > Check Printing > LIP Checks screen
The buttons and field groups on this screen are as follows:
Check Retrieve Parameters field group
Payable To Information field group
|
Record Identification: The fields on this screen are stored in the FPCK record (Check Printing Utility). You can run reports for this record through GOLDMiner or GOLDWriter. See FPCK in the Mnemonic Dictionary for a list of all available fields in this record. Also see field descriptions in this help manual for mnemonics to include in reports. |
|---|
In order to use this screen, your institution must:
•Subscribe to it on the Security > Subscribe To Mini-Applications screen.
•Set up employees and/or profiles with either Inquire (read-only) or Maintain (edit) security for it on the CIM GOLD tab of the Security > Setup screen. |