Navigation: Notification System > Wrappers Screen >
You can use the Notification Wrappers screen to modify and use parameters on the Detail tab of the Wrappers screen.
Using the Parameter list view you can add new parameters and determine their value on the Detail tab of the Notification Wrappers screen. The <Add Parameter> and <Delete Parameter> buttons are used to modify the Parameter list view. Parameters can be used in wrappers and in the body of emails. The default parameters are displayed in the Parameter list view. The program substitutes a specified parameter whenever <parm:#PARAMETER> is entered in the code where PARAMETER is the parameter name.
Parameters are generally your institution's most commonly used fields. These fields may need to be changed at random times. Once a parameter is changed, the changes take affect in all wrappers and emails where the parameter is used the next day. This enables your institution to make changes across the Notification System quickly and seamlessly.
All default parameters must start with a hash tag (#). This differentiates the parameters from regular HTML parameters. If the parameter has multiple words, these words must be divided by an underscore (_). For example, to insert the marketing URL for your institution into the header your wrapper, you would type the following into the Header field:
•<a href="[parm:#MARKETING_URL]" style="color: #3E898F;">[parm:#MARKETING_URL_TEXT]</a>
Note: A work order is required for additional default parameters (strictly for tracking purposes).
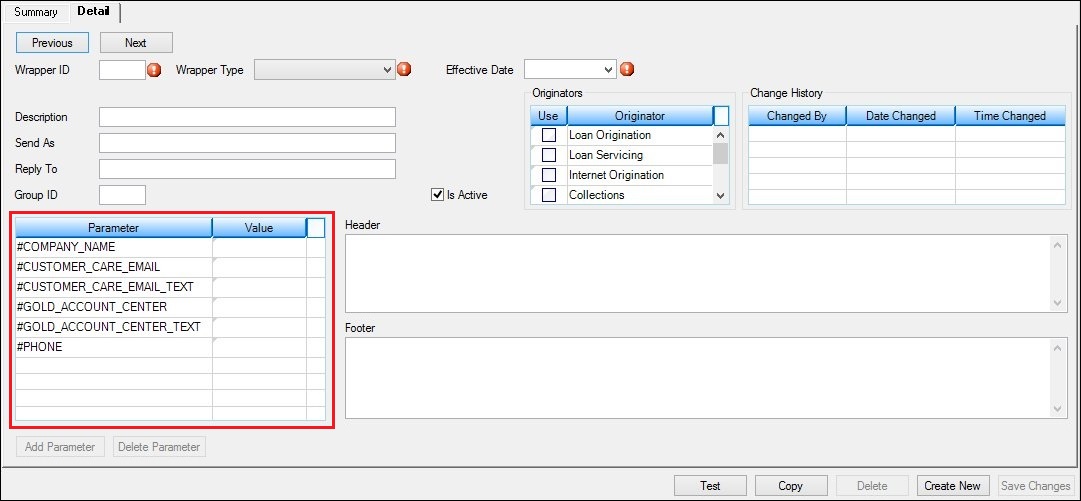
Default Parameters on the Detail Tab of the Wrappers Screen
To add a parameter using the Detail tab of the Notification Wrappers screen:
1.Upload a wrapper onto the Detail tab or create and save a new wrapper.
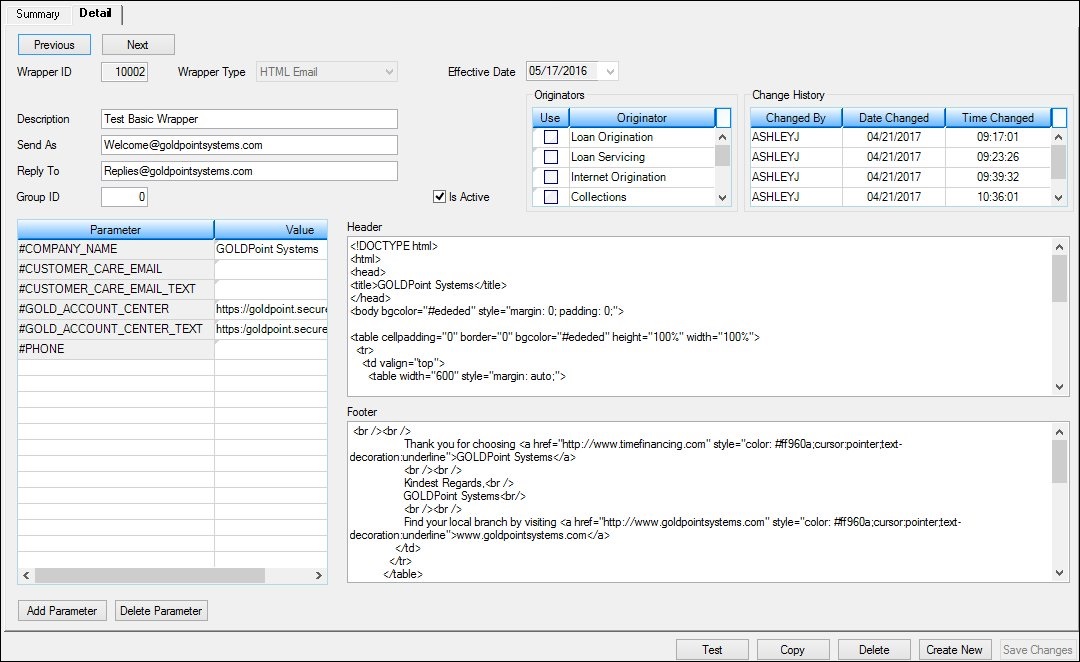
Wrapper Uploaded onto the Detail Tab
2.Click on the <Add Parameter> button to open up a new line in the Parameter list view.
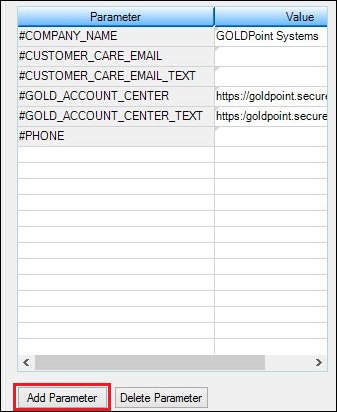
<Add Parameter> Button
3.Enter the new parameter in the Parameter column and the value for that parameter in the Value column. Note: Make sure to begin your parameter with a hashtag (#).
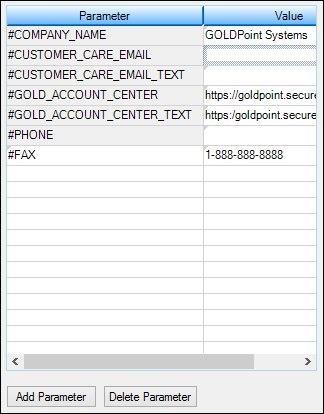
New Parameter Added
4.You can now begin to use the new parameter in your wrapper templates.
To delete a parameter using the Detail tab of the Notification Wrappers screen:
1.Upload a wrapper onto the Detail tab or create and save a new wrapper.

Wrapper Uploaded onto the Detail Tab
2.Select the parameter that you want to delete in the Parameter list view. Note: You cannot delete default parameters.
3.Click <Delete Parameter>.
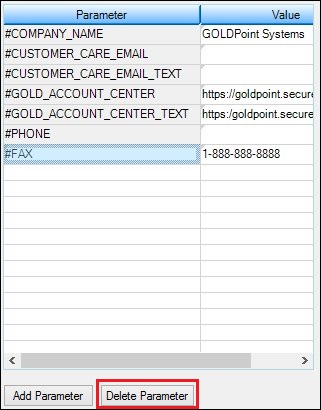
Select Parameter to Delete
4.The parameter is deleted and removed from the Parameter list view.
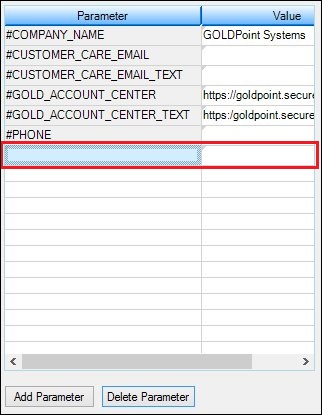
Parameter Deleted
See also: