Navigation: Dealer System > Options Screen >
You can use the Dealer Options fields on the Dealer System > Options screen to set up the different dealer options that will be available in the Dealer System.
To set up dealer options:
1.Navigate to the Dealer System > Options screen in CIM GOLD.
2.Select the options that you want applied to the Dealer System in the Dealer Options field group.
•Allow Approval for All Branches: This field allows you to approve all branches for the dealer.
•Allow User Management: This field allows you to manage the users that are tied to a dealer. If this option is not checked, the <Manage Users> button is inactive on the Dealer System > Dealers screen.
•Approve Steps In Order: This field ensures that the approval process must be completed in order.
•Allow Payee Override: This field allows you to override the payee name (vendor) on the check. This can be used to add an additional name along with the vendor’s name or to remove the vendor’s name from the check.
•Combine Invoices: This field allows invoices to be combined so that the dealer receives one large check instead of several smaller checks.
•Use Dealer Mailing Address: This field is used if the dealer wants their checks to be sent to their mailing address. This option is used only if the dealer has different mailing and street addresses.
3.Enter the number of days in the Temporary Approval Time and Approval Renewal Time fields if you want to place a time limit on how long a temporary approval and an approval renewal for a dealer lasts.
4.You can also add a special color to be used for all alert and notes buttons. The special color would add visual impact to alerts and notes and make them more likely to get the appropriate attention. To set up an alert and notes button text color:
1.Click on the <Change Color> button to bring up the Color Picker dialog.
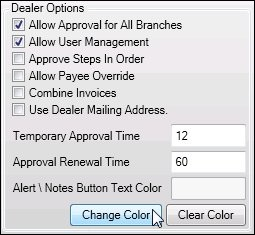
<Change Color> Button
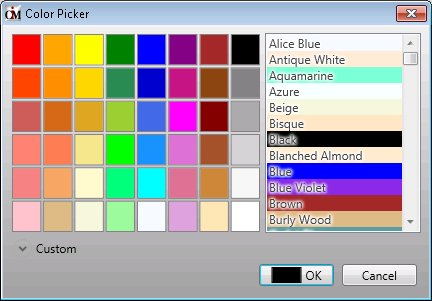
Color Picker Dialog
2.Select a color using the Color graph or the Color Picker drop-down list. The color that you select is displayed in the <OK> button.
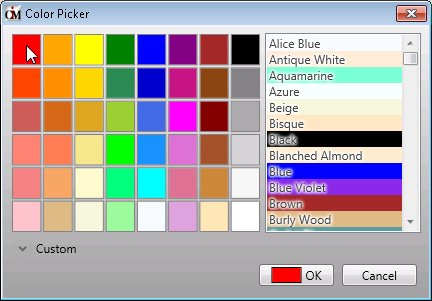
Select a Color
3.You can also click on the Custom drop-down arrow to completely customize the color.
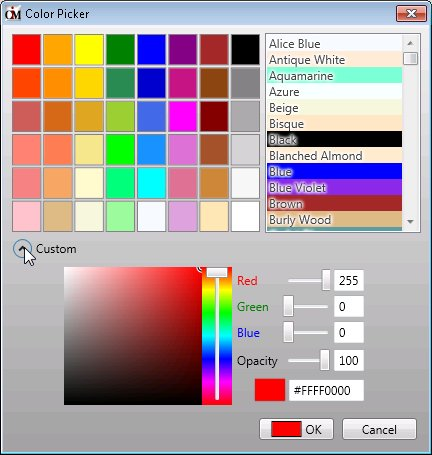
Customize the Color
4.Once you have selected a color, click <OK> to return to the Options screen.
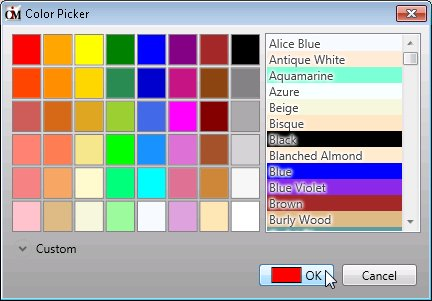
Select a Color and Click <OK>
5.The code for the color you selected is now displayed in the Alert \ Notes Button Text Color field. You can change this color at any time. You can also click <Clear Color> to remove the special color for alerts and notes and not use this option.
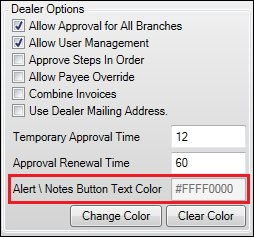
Color Selected
5.Once you have set up all of the options that you want to use, click <Save> to apply the new options.
See also: