Office Information organization chart |
  

|
Navigation: GOLD Services Screens > Office Information Screen >
Office Information organization chart |
|
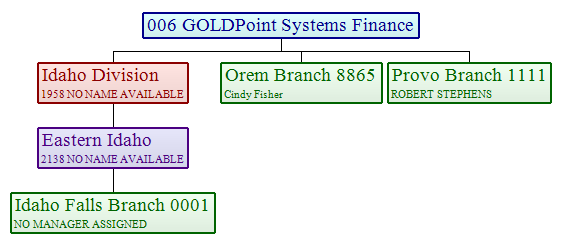
The top half of the GOLD Services > Office Information screen (or the right side, depending on the setup of your institution's hierarchy tree) displays an organization chart of all the offices, regions, and divisions currently set up for your company. These are all color coded. Clicking on a division, branch, or region will open up the organization chart further to reveal additional offices, etc. that may be applicable.
|
Note: The look of this screen changes according to whether or not you have institution option OP26 EXPH set. If you have this option set, see the Expandable Hierarchy Tree topic. |
|---|
From top to bottom, the order of the organization chart is as follows:
| 1. | Institution (blue colored) |
| 2. | Division (red colored) |
| 3. | Region (purple colored) |
| 4. | Office or branch (green colored) (see example below) |
|
Note: GOLDPoint Systems can set up this screen to your specifications. If you would rather have the chart display offices, branches, and states, we can change that information for you. |
|---|
|
GOLDPoint Systems Only: Use the GOLDPoint Systems > Branch Hierarchy screen to change divisions, regions, or offices to other hierarchy names. Also, you must set up Institution Option OP26 EXPH, as explained in the Expandable Hierarchy Tree topic. |
|---|
To add an office, region, or division:
| 1. | Right-click your institution's name listed in blue at the very top of the organization chart. |
| A pop-up list appears, as shown below: |
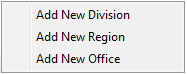 |
| 2. | Select whether you want to add a division, region, or office from the pop-up list. |
| The fields on the bottom half of the screen will now allow entries to be made concerning this new office, region, or division you are adding. |
| 3. | When you have finished entering that information, click <Save Changes>. |
| The system will collapse the organization chart back to displaying just your institution's name. When you click the name, the chart will expand and you will see the new division, region, or office you added. |
You can also add a branch from a region or division by right-clicking on the region or division's name and selecting "Add New Office." From a division, you can add a region or a branch.
Once you've added an office, division, or branch, you can move that office or branch anywhere you want it in the organization chart.
To move an office, region, or division:
| 1. | In the organization chart, right-click the office, region, or division you want to move. |
| A pop-up list appears. |
| 2. | Select "Move Division, Region, or Office" (depending on which one you right-click). |
| A dialog box similar to the one shown below appears. Note: This dialog box will appear slightly different if you are moving a region or division. |
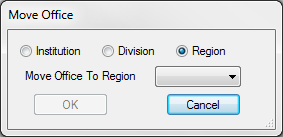 |
| 3. | Select the radio button next to Institution, Division, or Region to signify where the office, region, or division will be moved under. |
| 4. | From the Move Office to Region (or can also be Division or Institution) drop-down list, select where you want the office, region, or division moved to. |
| 4. | Click <OK>. |
The system will collapse the organization chart back to displaying just your institution's name. When you click the name, the chart will expand and you can click to find where you moved the office, region, or division.
Deleting Office Information
GOLDPoint Systems suggests taking great care when deleting division, region, district, or office information, because many different systems link to the information on this screen. If you are viewing an office and click ![]() , the following dialog will appear and ask to verify your selection:
, the following dialog will appear and ask to verify your selection:
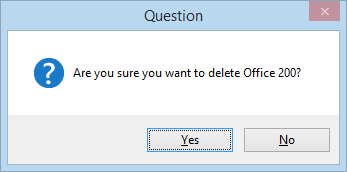
Clicking <Yes> will delete the entire office record.
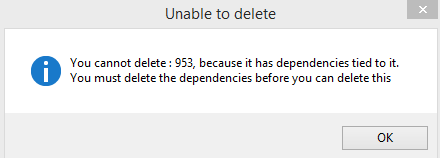
If you attempt to delete a division, region, or district with dependencies (displayed beneath them in the tree view), the system will prevent you from completing the action and display the following dialog:
This is a safeguard put in place to guarantee that multiple offices, districts, regions, and divisions are not accidentally deleted. However, the Allow Bulk Delete checkbox, which appears next to the <Delete> button at the bottom of the Expandable Hierarchy Tree version of this screen, can be marked to override this safeguard. If that checkbox is marked and you attempt to delete a division, region, or district with dependencies, the following dialog will appear and ask to verify your selection:
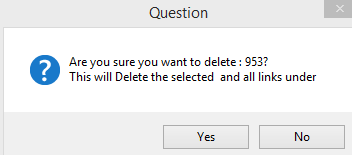
Clicking <Yes> will delete the selected item and all dependencies underneath it.
See also: