Navigation: Notification System > Texting History Screen >
To perform a search using the Texting History tab on the Notification Texting History screen:
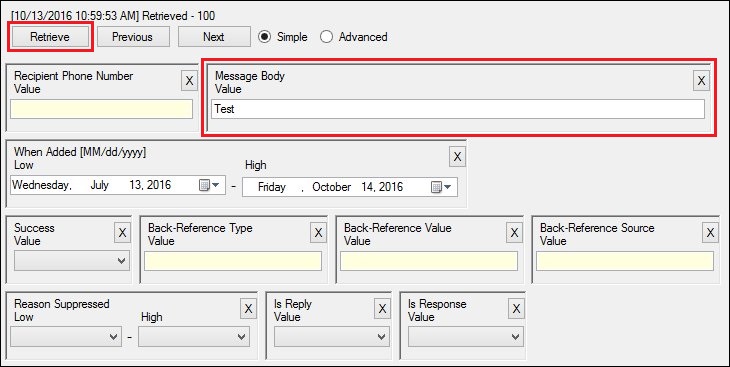
1.Use the Texting History fields to enter your search parameters. You can search by phone number, message, date, etc. The more search parameters that you enter, the more specific your search results will be. Clicking on the (![]() ) button on the search parameters either clears the field or sets the field to the default. To see more search parameters, click the Advanced radio button. In our example, we entered "Test" in the Message Body field and used the default dates in the When Added fields.
) button on the search parameters either clears the field or sets the field to the default. To see more search parameters, click the Advanced radio button. In our example, we entered "Test" in the Message Body field and used the default dates in the When Added fields.
2.Click the <Retrieve> button. Note: You can also press <Enter> or <Return> inside of any of the fields to perform a search.

Texting History Screen - <Retrieve> Button
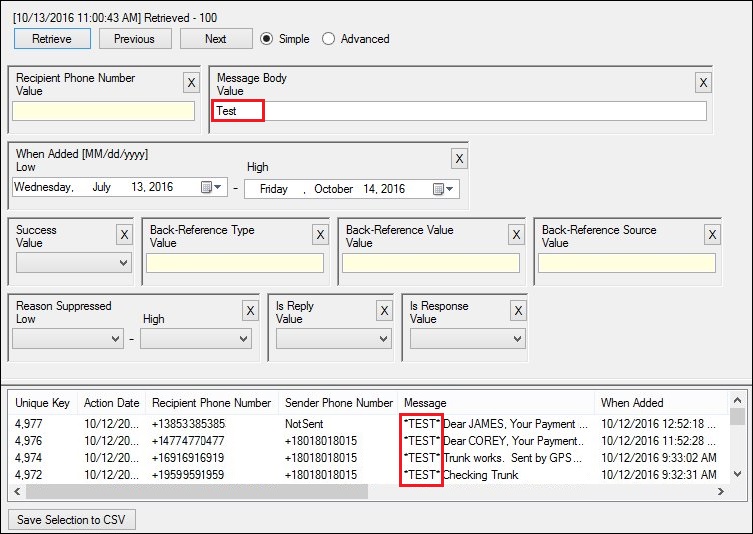
3.The search results that match the parameters entered are displayed in the Texting History list view. For our example, all of the messages that contained "Test" in the message body that were added between July 13 and October 14 were displayed in the search results.

Texting History Screen with Search Results
4.After receiving the results of your search, you can perform a new search, view the details of specific text messages, save your search data to a CSV file, or exit the screen.
See also: