Navigation: Dealer System > Institution Configuration Screen > Institution Configuration Screen Details >
Imports Tab
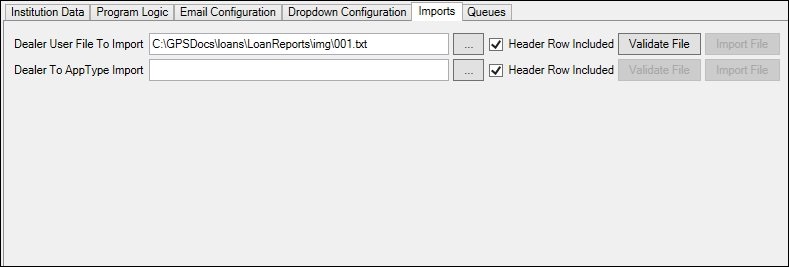
Use the Imports tab to validate and import dealer user files and dealer to App-type files.
See the following example of the Imports tab followed by field and button and icon descriptions.

Imports Tab
Field |
Description |
|---|---|
Enter the path to the dealer user file that you want to import in this field. You can also use the Browse icon ( |
|
Check this field to also import the header row of the file in the Dealer User File to Import field. |
|
Enter the path to the dealer to App-type file that you want to import in this field. You can also use the Browse icon ( |
|
Check this field to also import the header row of the file in the Dealer To AppType Import field. |
Button or Icon |
Description |
|---|---|
Click on this icon to browse through your files for a file to upload. |
|
Click this button to check the file to be imported and validate it. |
|
Click this button to import the file. This button is only available after the file has been validated. |
See also:
Institution Configuration Screen