Print a Check Register |
  

|
Navigation: Loans > Loan Screens > Check Printing Screen Group > Checks Screen >
Print a Check Register |
|
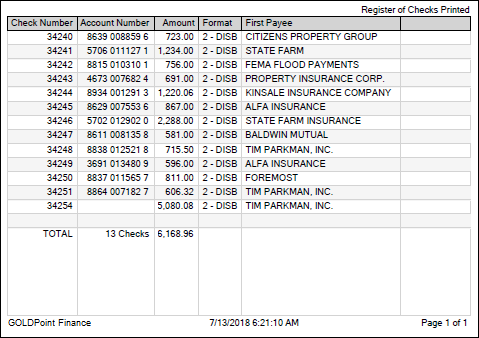
After checks are printed, you should print a check register report. This report shows the check number, account number, amount, format, and the name of the payee. A good practice is to forward this report to your accounting department after printing all checks for the day.
If you use the Checks screen for printing both funding checks and reserve checks, you will need to print at least two registers: one for funding checks and one for reserve checks. But you could have more Check Register reports than that.
•You could print a register for each payee.
•You could print a register based on check format.
•You could print a register including all checks from a range of accounts.
•You could print a register based on a date range.
Communicate with your accounting department to determine the best way to create Check Registers.
To print a Check Register:
1.Select the type of check record in the Check Type field. Valid options are Reserve or Funding.
2.If you don't want to limit your results by office, clear out the Office field so that all check records from all offices will be displayed. If you only want information from one office, enter that office number in the Office field.
3.You can leave the Format field blank if you do not want to create a Check Register report based on format. If you do want a specific Check Register report based on format, select it from the Format field.
4.If you want to only view records from a specific date range, enter the Start and End Date fields. If you don't want to limit your results by date, leave those fields blank.
5.Select "Printed" from the Status field to retrieve printed check records.
6.Click <Retrieve>.
The list view table will display all the records matching your criteria. Here is where you will select those records you want to include on the Check Register report.
 |
Tip:
•To select multiple check records, left-click each record while pressing the <Ctrl> key. •To select a range of check records, click the top record while pressing and holding the <Shift> key, then click the bottom record. All the records in between will be selected. •To select all the records in the table, click the top-left cell under Date, then press <Ctrl> + <Shift> + <End>. |
|---|
7.Click <Print Register Report>. The system will print the Register Report to the printer of your choosing.
The following is an example of the Register Report: