Navigation: Notification System > Solutions by Text History Screen >
To save the information displayed in the Results list view into a text or other file using the Solutions by Text History screen:
2.Once you have the data that you want displayed in the Results list view, highlight or select the data that you want to export. You can select as many lines of data as are displayed in the Results list view.
You can select multiple, sequential lines by clicking on the first item and then pressing and holding down <Shift> as you click on the last item. You can also select multiple lines by pressing and holding down <Ctrl> as you click on each of the lines that you want to select. You must continue to hold down <Ctrl> the entire time you are selecting lines or you will lose your selections. Note: If no items are selected, all items are exported.
3.After you have selected all of the data you want to save, click <Export>.

<Export> Button on the Solutions by Text History Screen
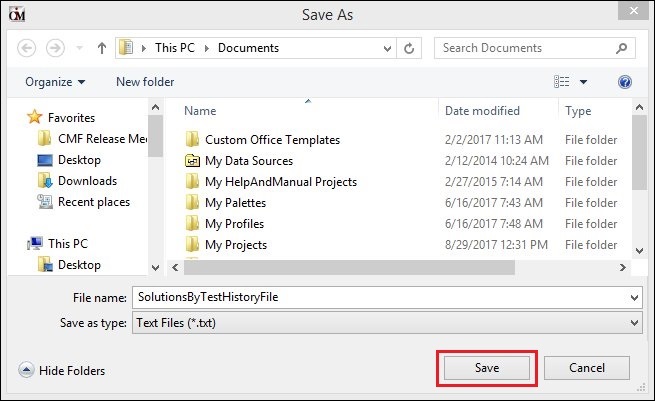
4.Clicking the <Export> button brings up the Save As dialog. Browse to the location where you want to save the file and enter the name of the file in the File name: field.
5.Click <Save>.

Save As Dialog
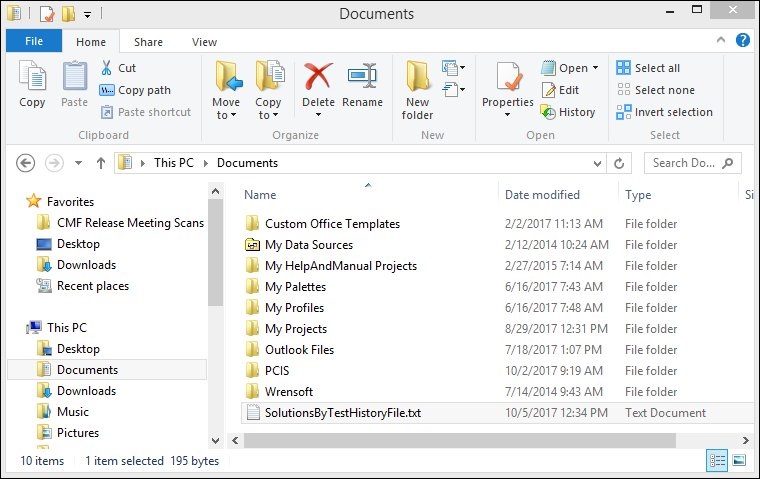
6.The file is saved onto your computer or network. To open the file, either double-click on it or right-click on it and select "Open" from the right-click menu. The saved file contains all of the text history line items you selected.

File Saved on Computer or Network
See also:
Solutions by Text History Screen