|
Check Format grid |
  

|
Navigation: Deposits > Deposit Screens > Check Printing Screen Group > Check Format Setup Screen >
Check Format grid
|
Check Format grid |
|
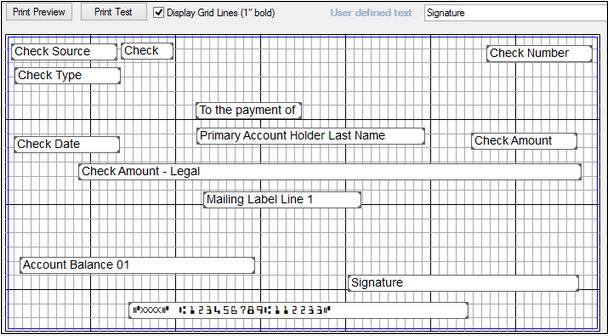
This grid is used to place fields on a check. You can drag and drop fields from the Available Print Field Labels or the User-Defined Text fields. For more information about the various fields available for check formats, see Available Print Field Labels list view.
If you want to see grid lines in this grid, mark the Display Grid Lines field. If that field is not marked, this grid will appear white. Grid lines do not print on the check, but they are helpful to line up the data to be displayed on the check. Six grid lines down and 10 across represent 1 square inch.
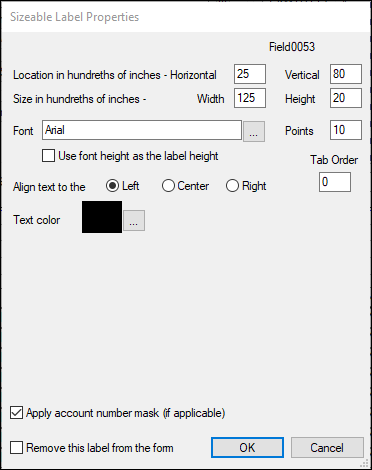
Right-clicking on fields placed in the grid brings up the Sizeable Label Properties dialog (see example below). You can use this dialog to change the size, font, alignment, and color of the text in the fields. Two checkbox fields are also available at the bottom of the dialog:
•Marking the Apply account number mask (if applicable) field (CFMASK) will cause all but the last five digits of the account number to be masked (each digit replaced by X) when the check prints.
•Marking the Remove This Label from the Form field will delete the field. You can also highlight the field and press the <Delete> key on your keyboard.
See the following example of the Check Format grid with check fields inserted:
Once the check format has been created, you can print checks using that format on the Deposits > Check Printing > Deposit Checks screen.