The Report Wizard Step 7: Set Column Order |
  

|
Navigation: How to > The Report Wizard >
The Report Wizard Step 7: Set Column Order |
|
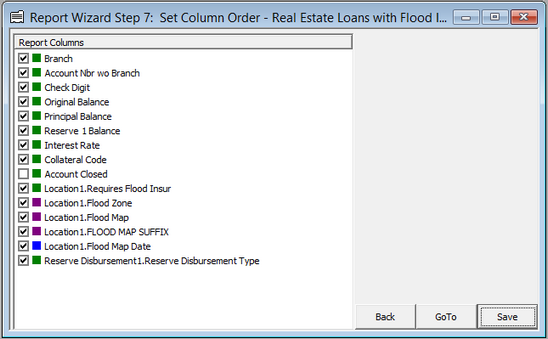
Step 7 of the Report Wizard allows you to reorganize the report columns and select which columns should appear on the report.
The selected fields and work fields you selected in the previous Report Wizard steps are displayed here. The order the fields appear here will be the same order as how they appear on the report. For example, the first checkmarked field will be the first column on the report.
To move a field, simply click and drag the field to the desired position.
If you want the field to appear on the report, check the box in front of the field. If you do not want the field on your report, leave the checkbox blank, and the field will be hidden. This is especially useful when using fields to build work fields and logic, but they are not necessary on a stand-alone basis.
See the example below:
 |
Note: After a report has been run and displayed, columns can be temporarily moved where you need them. When the report is run later, the columns will appear in the order defined in Step 7. Also, when a report is exported to another application such as Excel, the columns will automatically appear in the order defined in Step 7. |
|---|
When you have reorganized the report columns, click <Save> in the bottom-right corner of the screen. The following dialog will appear:
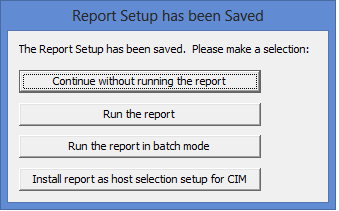
•Click <Continue without running the report> and the report will be saved to the Report Catalog, where you can run it at a later time or schedule it to run in the afterhours.
•Click <Run the report> to run the report immediately. The results of the report will be displayed on the screen, and you can print, save, or export the report to another program (such as Excel).
•Click <Run the report in batch mode> to run the report in batch mode. This means that GOLDWriter requests a lower priority from the host to run the report. The biggest difference when running the report in batch mode is that the cost of the report will be about 1/3 less, and the report may take a little bit longer to run. However, in most cases the run time is about the same.
•The <Install as host selection setup for CIM> is a special function that saves only the selection parameters of the report into a format on the host computer that is used in Contact Queue processing. It requires that a Contact Queue with the same name as the GOLDWriter report has already been set up in CIM GOLD. Clicking this button assigns the logic of the report to the Contact Queue so that the Contact Queue will pull the same accounts as the GOLDWriter report. If that Contact Queue is not set up before you click this button, you will receive an error message.